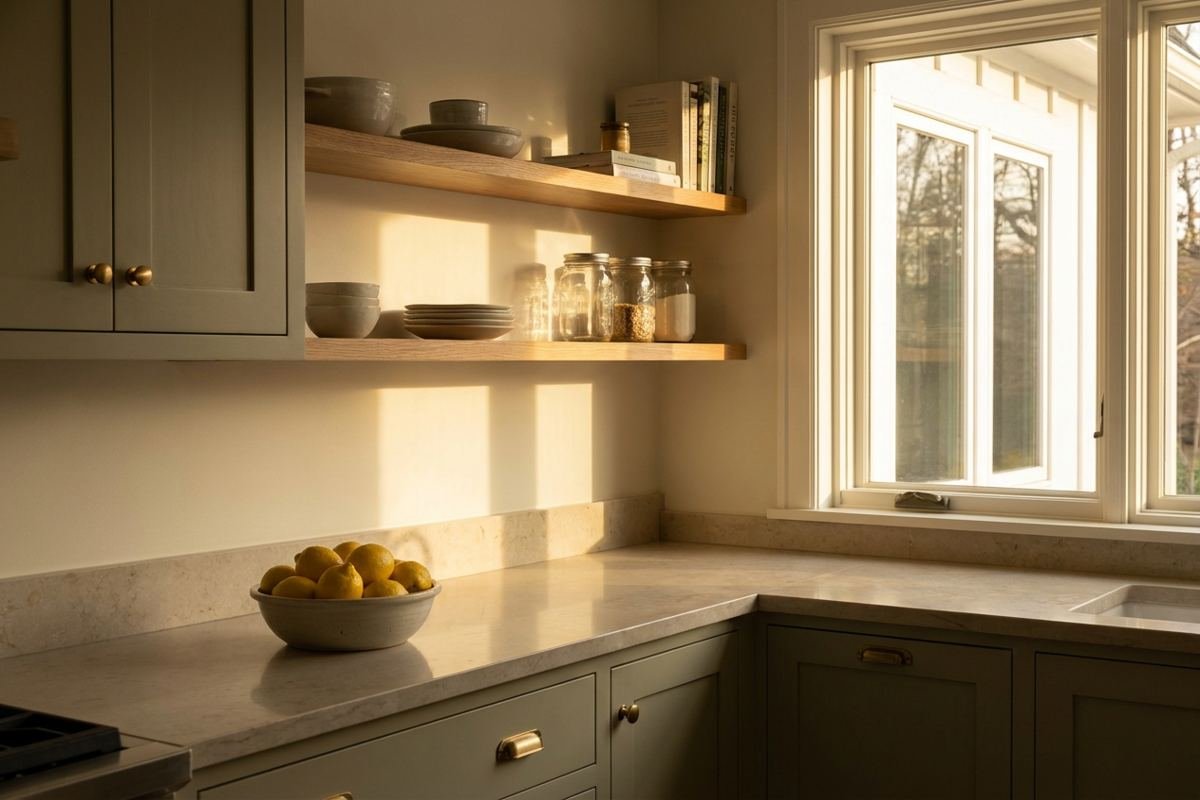
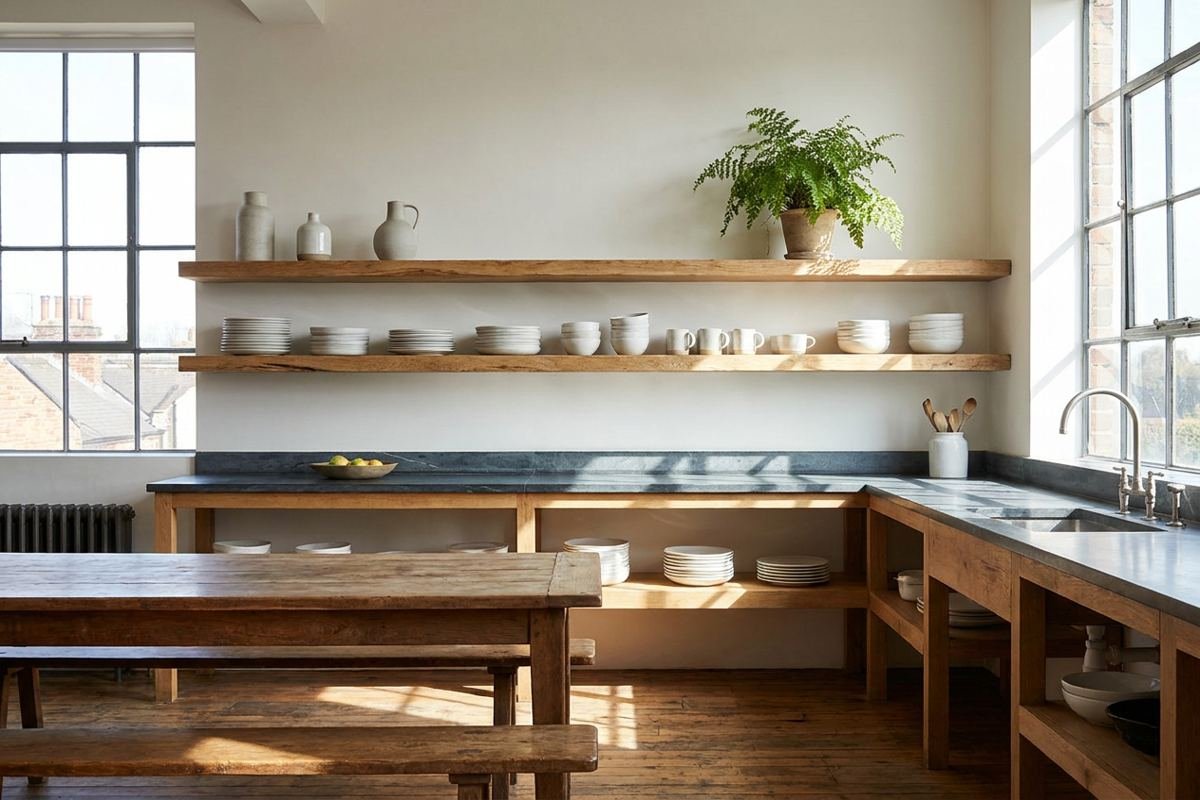
Kitchen open shelving styling works in 2026 when shelves hold things you use daily, arranged with restraint. Keep to a limited palette, stack dishes in tidy groups, add a few natural objects, and leave about one-third of each shelf empty. Function first, then a little beauty, keeps open shelves from turning into clutter.
Open shelves put your kitchen on show, which is exactly why they feel so good when they work. Everyday dishes within reach save steps, while a few thoughtful objects give an otherwise practical room personality and warmth.
This guide shares ten styling ideas for kitchen open shelves, from dish stacking and jars to lighting and plants, plus what is going out, how to combine ideas, budgets, a step-by-step setup, and advice for small kitchens, big kitchens, and rentals.
The Big Picture: Why Kitchen Open Shelving Styling Is Changing in 2026
Three forces explain almost every idea below.
1. Lighter, airier kitchens. Heavy upper cabinets can close in a room. Shelves open the wall, let backsplash and daylight show, and make even a compact kitchen feel breathable and welcoming.
2. Use it, do not just display it. People are done with shelves that hold only decorative objects. Everyday plates, glasses, and bowls look better because they are used, washed, and returned often.
3. Honest materials. Wood, stoneware, glass, and linen show warmth and imperfection. Shelves styled with real kitchen materials feel inviting, while glossy novelty accessories feel like a showroom.
Together, these shifts reward edited, useful arrangements in natural materials rather than crowded displays of decorative filler.
Stacked Everyday Dishes
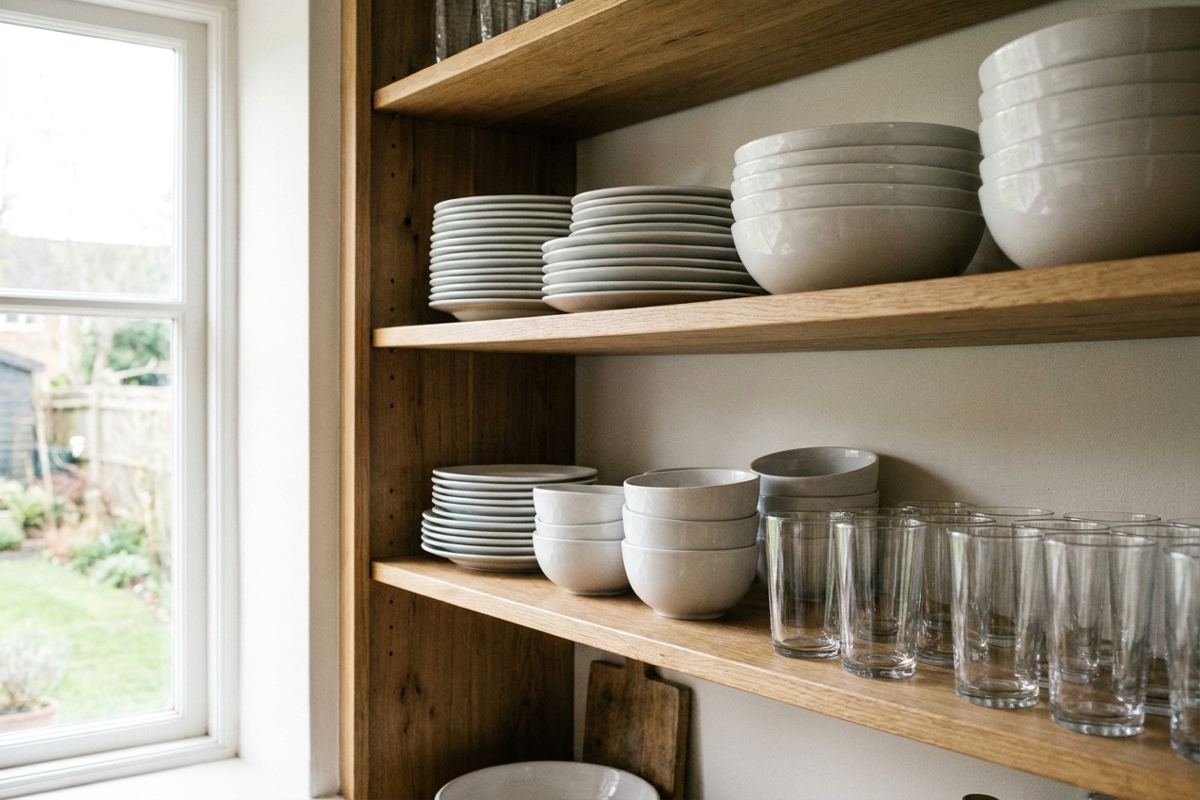
Plates and bowls stacked in neat groups are the foundation of a good open shelf. They are beautiful in plain white or cream and keep the shelf practical.
Why it works: repeating shapes in one color creates calm, and stacks create natural height.
- Stack in sixes or fewer. Tall stacks wobble and are hard to reach, so keep them to six plates or less.
- Keep one color family. White, cream, or soft gray dishes look cohesive and calm.
- Mix plates and bowls. Alternate groups so the shelf has rhythm instead of one long line.
- Place heavy items low. Put your heaviest dishes on lower shelves for safety and balance.
- Wash regularly. Dishes left out collect kitchen dust and grease, so rotate and rinse them.
- Reach test. Stand at the counter and reach for each item; anything you use daily should come down without a step stool.
Budget options: Simple white restaurant-style dinnerware is affordable, durable, and always looks clean on a shelf.
Mistakes to avoid: Stacking too high, or mixing too many patterns on one shelf.
Glassware in Neat Rows
Tumblers, wine glasses, and mugs lined up evenly catch light and add sparkle. Glass is lightweight visually, so it suits narrow or lower shelves.
- Line by height. Place taller glasses toward the back or ends for a tidy silhouette.
- Keep sets together. Matching glasses read as one group, which looks calm.
- Place near the sink. Keep drinking glasses within a short reach of the faucet and fridge.
- Dust smartly. Wipe glass before use, since open shelves collect kitchen film.
- Hang mugs. Small hooks under a shelf free space and add a casual look.
- Group by task. Keep coffee things together and baking things together so the shelf makes cooking faster as well as prettier.
Budget options: Inexpensive clear glass tumblers look polished in groups of six or eight.
Mistakes to avoid: Crowding glasses too tightly, which makes them clink and chip.
Stoneware Crocks and Wooden Boards
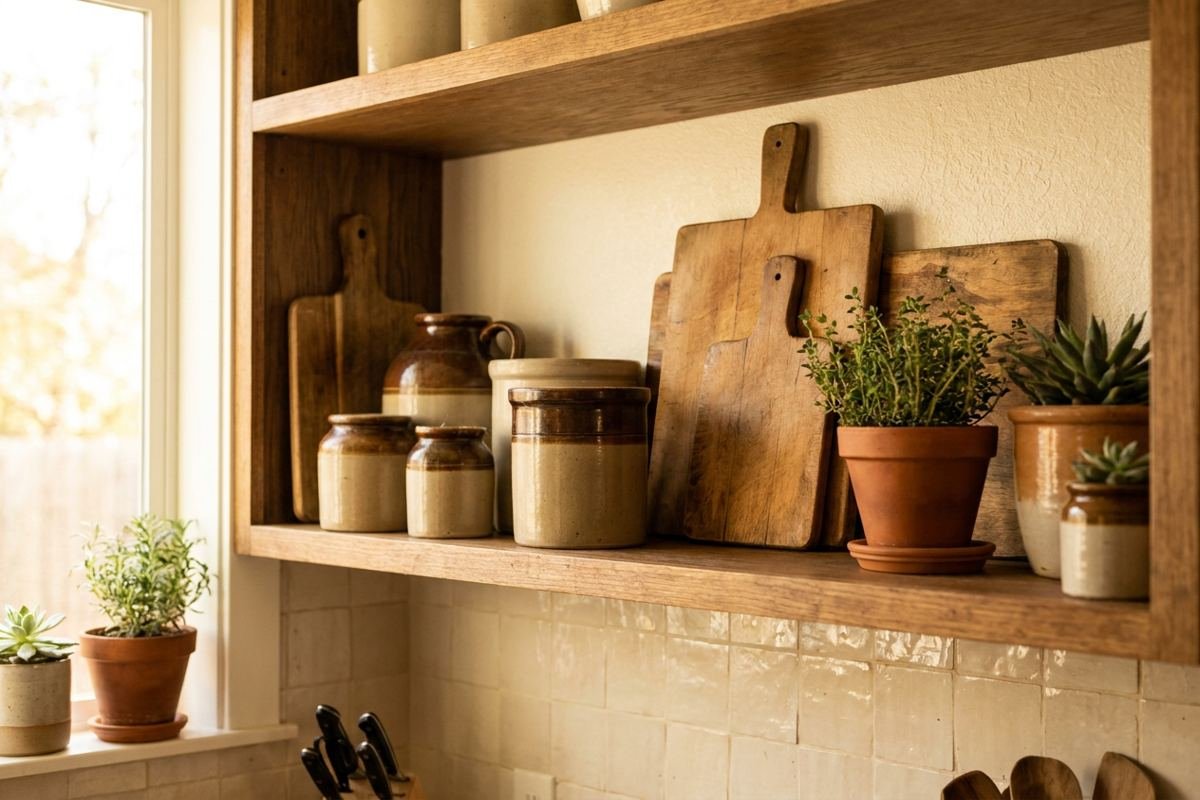
Large crocks for spoons and spatulas and wooden boards leaning against the wall add texture and warmth. They are useful and attractive at the same time.
Why it works: natural textures soften the hard lines of dishes and appliances.
- Lean a board. Prop a wooden board at the back of a shelf for depth and color.
- Use a crock. Store wooden spoons in a heavy stoneware crock near the stove.
- Mix finishes. Pair glossy glaze with raw wood for contrast.
- Oil your wood. Treat boards with food-safe oil so they stay beautiful and clean.
- Choose a few. Two or three pieces are enough; more starts to look cluttered.
- Check sightlines. Look at the shelf from the door and the table, since that is how guests will read it first.
Budget options: Basic wood boards and simple stoneware crocks cost little and age beautifully.
Mistakes to avoid: Using decorative boards that you never cut on, which gather grease.
Cookbooks and Art
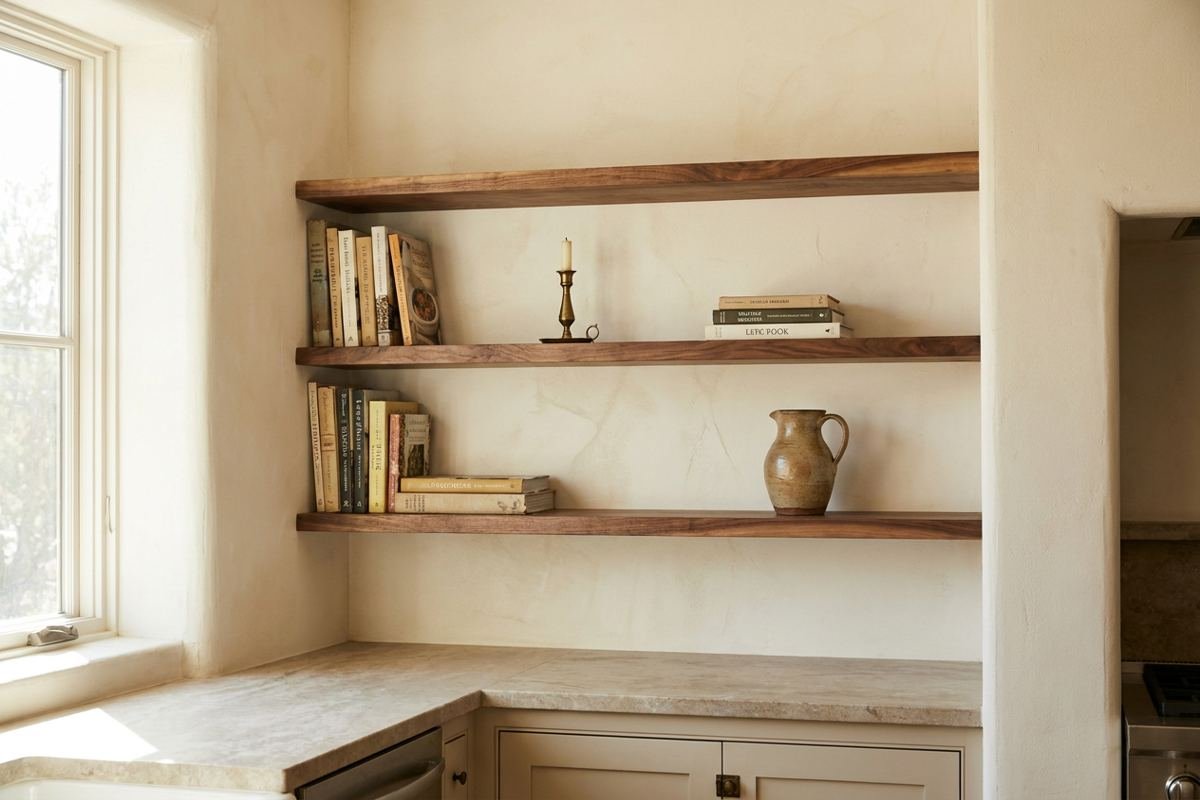
A short stack of favorite cookbooks adds color and personality. Pair them with a small framed print to make the shelf feel like part of the room, not just storage.
- Stack horizontally. Lay books flat to create a base for a small object.
- Choose by color. Select covers in a palette that fits your kitchen.
- Keep them clean. Place books away from the stove and sink to avoid splatters.
- Add a print. A small framed piece leaning at the back adds depth.
- Limit the number. Three to five books are enough for a styled look.
- Mind the edge. Keep taller objects toward the ends and low items in the center so the shelf has a gentle, balanced shape.
Budget options: Secondhand cookbooks and printed art from your own photos are low cost and personal.
Mistakes to avoid: Placing precious books near steam and oil.
Jars and Canisters for Staples
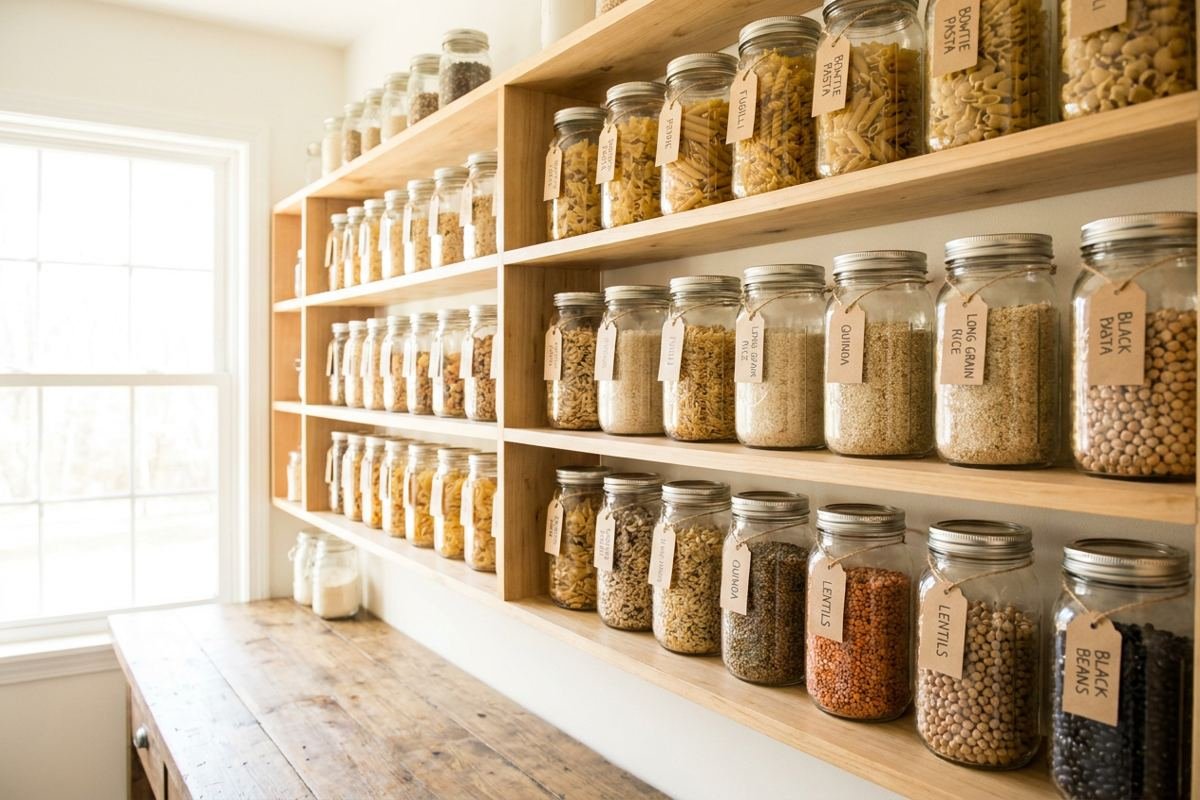
Glass jars full of pasta, rice, beans, and flour look beautiful and keep ingredients visible. They add color through food itself, which is the best kind of decoration.
Why it works: matching containers create order, and the contents give natural color.
- Choose airtight lids. Seals keep food fresh and pests out.
- Match jar styles. Use one or two shapes for a cohesive set.
- Label simply. Use small chalk or paper tags in a consistent style.
- Refill from packages. Keep the original packaging in a closed cabinet for date information.
- Keep out of direct sun. Light can degrade flours and spices over time.
- Use a tray. A small wooden tray under oils and salts corrals bottles and makes wiping the shelf a one-step job.
Budget options: Reuse clean glass jars or buy a few matching sets rather than a whole collection.
Mistakes to avoid: Leaving spices in direct light and heat above the stove.
Under-Shelf Lighting
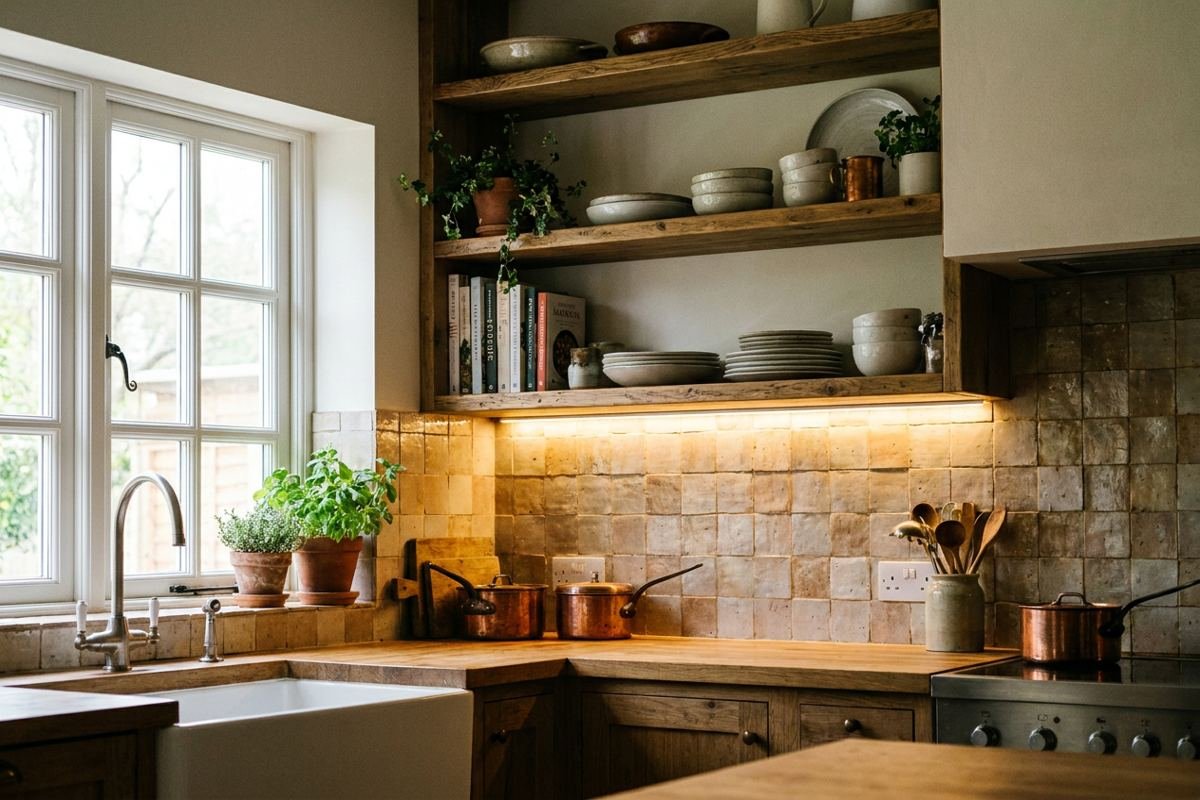
A thin strip of warm LED light under a shelf lights the counter and makes the shelf glow at night. It also gives your kitchen an inviting mood after dinner.
- Choose 2700K to 3000K. Warm white looks natural on wood and food.
- Hide the strip. Mount it at the front edge so the light source is not visible.
- Use a dimmer. Dimmable light lets you move from task to ambient.
- Pick plug-in options. Rechargeable or plug-in strips avoid wiring in rentals.
- Clean regularly. Kitchen grease can dull the light, so wipe it often.
- Rotate pieces. Swap a few favorite objects between shelf and cabinet each season so the display never goes stale.
Budget options: Adhesive LED strips with a plug-in adapter are easy to install and low cost.
Mistakes to avoid: Using cool blue-white light that makes food look unappetizing.
Plants and Fresh Touches
One small plant or a bowl of lemons adds life to a shelf. Fresh herbs, a vase with branches, or a bowl of fruit bring seasonal change.
- Pick durable plants. Pothos and trailing ivy tolerate kitchen humidity and warmth.
- Drape lightly. Let a trailing plant hang from one end of the shelf for softness.
- Use real fruit. A bowl of lemons or apples is decor you can eat.
- Keep it clean. Remove dead leaves and wipe the shelf to prevent attracting pests.
- Limit to one or two. More than that reads as clutter.
- Consider depth. Shelves 8 to 10 inches deep hold dinner plates comfortably without sticking out into your workspace.
Budget options: A cutting from a friend’s plant or a grocery store herb makes a lovely shelf accent.
Mistakes to avoid: Fake plants that collect grease and dust.
One Long Shelf over the Sink
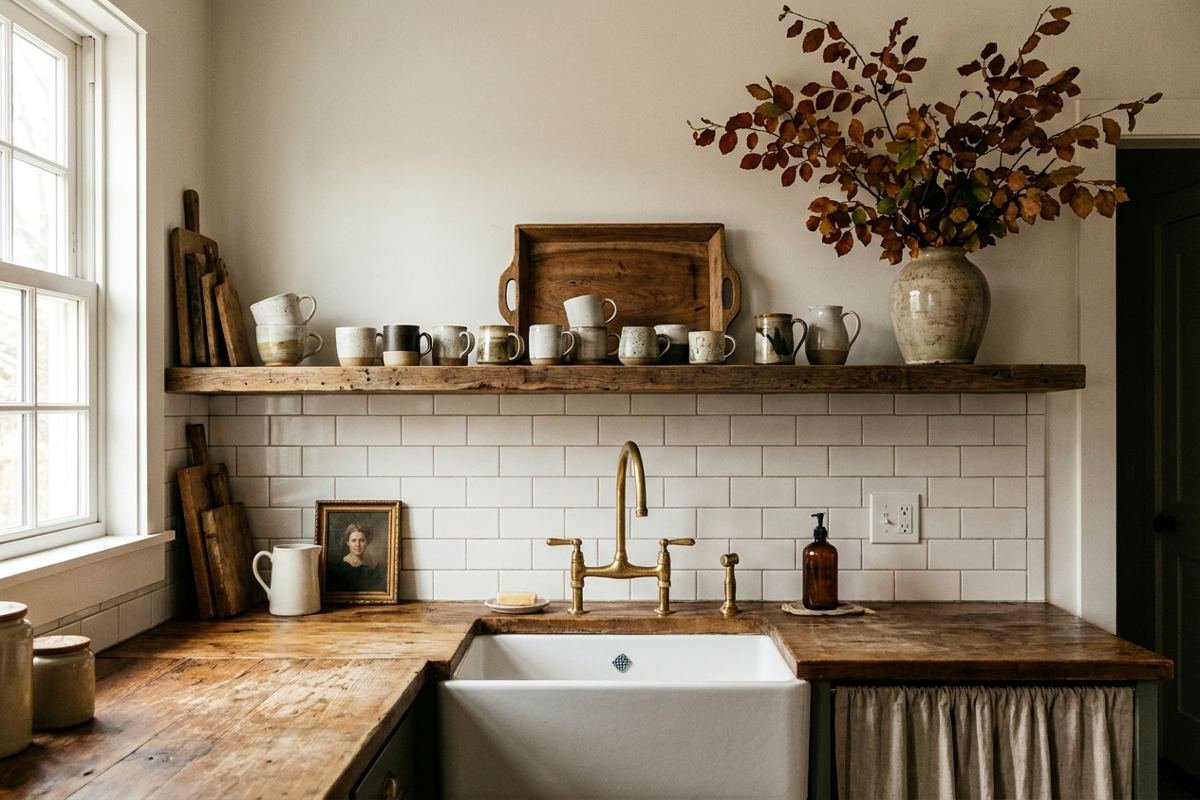
In a small kitchen, a single long shelf over the sink holds everyday mugs and a few styled items. It opens the wall without losing much storage.
- Mount at the right height. Hang the shelf 18 to 24 inches above the counter for easy reach.
- Choose a sturdy bracket. Support the full weight of dishes with solid hardware.
- Keep the load light. Place mugs, bowls, and a small tray instead of heavy items.
- Anchor to studs. Use wall anchors rated for the weight if studs are not available.
- Add a tray. Group small items on a tray to keep the shelf tidy.
- Seal the wood. A food-safe finish on raw shelves resists splashes and makes monthly wiping easy and quick.
Budget options: A simple plank of finished wood on brackets makes a good shelf for under a modest budget.
Mistakes to avoid: Overloading a shelf mounted without studs.
The One-Third Empty Rule
Leaving about a third of every shelf empty is the most effective styling trick. Space lets each object breathe and keeps the kitchen from looking cluttered.
- Group in odd numbers. Three objects together look natural.
- Vary height. Mix tall and short items for a pleasing rhythm.
- Repeat colors. Use a single accent color two or three times along the shelf.
- Step back. Look from across the room, then remove one item.
- Edit seasonally. Change a few things as the seasons shift.
- Leave the backsplash visible. Let tile or paint show between objects, since that surface is part of the styling too.
Budget options: Styling with what you already own costs nothing, and removing items is free.
Mistakes to avoid: Filling every inch of shelf, which makes the kitchen feel busy.
Mixing Open and Closed Storage
The most livable kitchens combine open shelves with closed cabinets. Keep less attractive items behind doors and show only what is beautiful and useful.
- Hide small appliances. Keep the toaster and blender in cabinets.
- Limit open shelves. One or two runs are enough for most kitchens.
- Keep plastic hidden. Store plastic containers and packaging behind doors.
- Show your best. Display dishes and cookware you are proud of.
- Use baskets. Lidded baskets on shelves hide small items neatly.
Budget options: Replace just one upper cabinet door or remove it to test the open look first.
Mistakes to avoid: Removing too many cabinets, which leaves nowhere to hide the mess.
What Is Going Out in 2026
Fading -> Replacing it:
- Shelves filled with decorative signs -> Real dishes and cookware
- Overstyled shelves packed to the edge -> One-third empty rule
- Mismatched plastic containers -> Matching glass jars
- Cool blue-white lighting -> Warm under-shelf LED lighting
- Faux plants -> Real herbs and hardy greens
- Glossy novelty accessories -> Natural wood, stoneware, and glass
- Ultra-thin metal shelves -> Solid wood or stone shelves
- Entire walls of open shelves -> One or two runs mixed with cabinets
How to Combine These Ideas Without Making a Mess
Open shelves reward discipline. These rules keep them looking beautiful through a busy week.
Rule 1: Limit your palette to three tones, such as white, wood, and one accent color.
Rule 2: Put the dishes you use daily on the shelf, and keep the rarely used pieces in cabinets.
Rule 3: Mix three kinds of objects on each shelf: dishes, a natural material, and one small decorative piece.
Rule 4: Repeat shapes and colors along the run so the eye travels smoothly.
Rule 5: Keep the shelf closest to the stove free of books, paper, and anything that absorbs grease.
Rule 6: Clear the shelves and wipe them down once a month to keep the display fresh.
Three Sample Combinations
The Everyday Classic. Stacked white plates, clear glasses, a stoneware crock, and a trailing pothos on solid oak shelves.
The Cook’s Corner. Cookbooks, a leaning cutting board, matching jars of staples, and warm under-shelf lights.
The Small Kitchen Edit. One long shelf over the sink with mugs, a tray, and a single vase of branches.
Budget Guide
Smart buying tips:
- Buy brackets first. Strong hardware matters more than the shelf board.
- Test dishes in person. Weight and stackability matter when you use them daily.
- Start with one shelf. Try it for a month before you commit to more.
Budget tiers:
- Under $300: Wood plank shelves with brackets, white dishes, clear jars, and adhesive LED strips
- $300 to $1,500: Solid wood shelves, quality stoneware, matching glassware, and a plug-in lighting kit
- $1,500 to $5,000: Custom floating shelves, stone ledges, and professional lighting installation
- $5,000+: Built-in millwork with integrated lighting, custom stone shelves, and a matched cabinet set
Step-by-Step 2026 Kitchen Open Shelving Refresh
- Decide what to show. Choose the dishes and tools you use daily.
- Clear the shelves. Remove everything and wipe the surface clean.
- Check the hardware. Confirm brackets and anchors can hold the weight.
- Group by type. Sort plates, bowls, glasses, and decorative items into piles.
- Choose your palette. Limit colors to three tones.
- Place the heavy items first. Put dishes on the lowest shelf.
- Add height. Use stacks, books, or a crock to vary the profile.
- Add natural touches. Include wood, a plant, and a bit of glass.
- Install lighting. Add warm LED strips under the shelf.
- Step back and edit. Remove at least one item, then look again.
- Maintain monthly. Wipe and rearrange to keep the display fresh.
Styling It by Room Size and Layout
Open shelves look different in every kitchen, so adapt the plan.
Small Kitchens
- Pick one shelf. A single run over the sink keeps the room open.
- Hold daily items. Use mugs, bowls, and plates you reach for often.
- Keep it light. Choose slim shelves so the wall feels airy.
- Match the wall. A shelf painted the wall color blends in quietly.
Open Plan Kitchens
- Style from the living room. Check how shelves look from the sofa.
- Use closed storage nearby. Keep clutter behind doors on the living room side.
- Echo living room colors. Repeat a tone from the sofa or art on a shelf.
- Keep it simple. Open shelves in a shared room need extra restraint.
Large Kitchens
- Use longer runs. Stretch shelves across a wide wall for balance.
- Add stone or thick wood. Substantial shelves match the scale.
- Create a coffee zone. Combine shelves with a counter for mugs and beans.
- Mix heights. Stagger shelf lengths for a custom look.
Rentals
- Use bracket shelves. Install with minimal holes and fill them on moving out.
- Try freestanding racks. A countertop shelf unit offers open storage without drilling.
- Pick adhesive lighting. Plug-in LED strips leave no marks.
- Ask permission. Check your lease before installing anything permanent.
FAQ
How do I keep open shelves from getting greasy? Keep them away from the stove, wipe them weekly, and store only items you use often so they are washed regularly.
How high should kitchen open shelves be? Hang the lowest shelf about 18 to 24 inches above the counter, so items are within easy reach and clear of appliances.
How much weight can an open shelf hold? It depends on the board, brackets, and wall. Anchor into studs and choose hardware rated for dishes, which are heavier than they look.
Should open shelves match my cabinets? They can contrast or match. Wood shelves warm a painted kitchen, while painted shelves blend into the wall for a quieter look.
What should I never put on open shelves? Avoid delicate items you cannot wash easily, spices near heat, and anything absorbing grease, such as paper goods.
Are open shelves practical for families? Yes, if you keep unbreakable dishes within reach and heavy or fragile items on lower shelves or in cabinets.
How do I style open shelves with few items? Group in threes, vary height, and leave empty space. A few good objects look better than many mediocre ones.
How often should I clean open shelves? Wipe shelves weekly and wash displayed dishes before use, since kitchen dust and film settle faster than in other rooms.
Final Thoughts
The best open shelves look like a kitchen that is loved and used. Choose dishes you reach for, keep a little space, and add a few natural touches. With that discipline, open shelving becomes the warmest and most personal part of the room. Begin with one shelf, live with it for a few weeks, and adjust until it feels easy to use and pleasant to look at.